 Ferndale Siding
 New Construction vs. Replacement: Why the Install Method Matters
New-construction windows and replacement windows solve two different problems, and mixing up the techniques is where a lot of long-term leaks get built into a house before anyone moves in. A replacement window goes into an existing, already-clad wall — the frame is sized to fit inside the old opening, and the water management relies on the window itself plus careful sealant work at the interior and exterior trim. A new-construction window, by contrast, goes in during the framing stage, before the weather-resistive barrier (WRB) and siding are on. It typically has a nailing flange that gets integrated directly into the wall's drainage plane, which means the window becomes part of the building's water management system rather than something patched into it after the fact.
That distinction matters because it changes where the responsibility for a dry wall actually sits. On a replacement job, a lot of the waterproofing burden falls on sealant. On new construction, if the flashing and WRB integration are done correctly, the wall sheds water around the window whether or not every bead of caulk is perfect years down the road. Get the sequence right once, during the build, and you're not relying on maintenance to keep the wall dry.
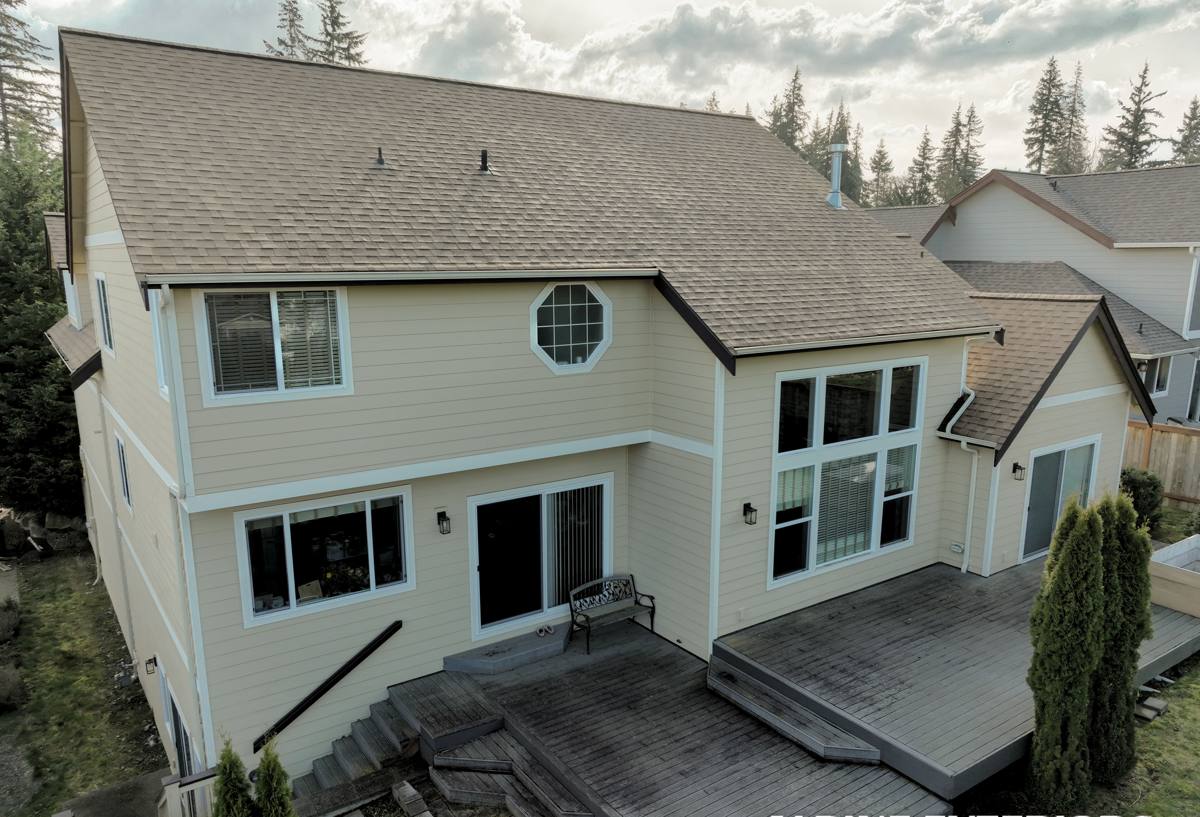
What Lynden's Climate Demands From a New Window Install
Whatcom County's weather isn't dramatic, but it's persistent, and that's exactly the kind of exposure that finds weak spots in a window install over time rather than immediately. Homes going up in and around Lynden deal with long stretches of driving rain, salt-tinged marine air moving in off the Sound, and wind that has a lot of open farmland to build speed across before it hits a house. None of that is unusual for this part of Washington, but it does mean a window opening has to handle sustained wind-driven rain pressure against the wall, not just the occasional downpour.
The other factor is duration. Whatcom County doesn't get the heaviest rainfall totals in the state, but it gets a long wet season, and that length of exposure is what drives moss growth on north-facing walls, slow saturation of poorly flashed sills, and gradual failure of sealant-only details that would probably hold up fine in a drier climate. A new-construction window installed here needs a drainage path that works on its own, because it's going to be tested by weeks of steady rain most years, not just a single storm.
The Correct Install Sequence, Step by Step
There's a specific order of operations for setting a new-construction window correctly, and skipping or reordering steps is the single biggest cause of the water intrusion problems we get called out to diagnose in older homes. On a new build, we control this sequence from the start.
Sill Pan and Rough Opening Prep
Before a window ever goes into the opening, the rough sill gets a sloped pan flashing so any water that gets past the window has somewhere to go — out, not down into the wall framing. The pan needs corner dams or end caps at both jambs so water can't run off the sides into the stud bay. This step gets skipped more often than any other, because it's invisible once the window is in, and it's the one that matters most.
Setting the Window and Fastening
The window gets shimmed plumb, level, and square in the opening, then fastened at every location the manufacturer specifies on the nailing flange — not just the corners. Under-fastening is common on production builds where crews are moving fast, and it shows up later as movement, seal failure, or air leakage around the frame.
Flashing and Weather-Resistive Barrier Integration
Flashing tape goes at the jambs first, then the head, always shingle-lapped so water moving down the wall flows over each layer rather than behind it. The WRB gets integrated the same way — cut and lapped so the house wrap above the window overlaps the flashing, and the flashing overlaps the wrap below the sill. Done correctly, water landing anywhere on that wall drains down and over the window opening without ever finding a path inward.
Choosing a Frame Material for This Climate
Frame material is a bigger decision on new construction than most homeowners realize, because you're choosing something that will sit in direct weather exposure for decades. There's no single right answer for every home — it depends on budget, the look you're after, and how much upkeep you want to take on — but the trade-offs are worth understanding before the windows get ordered.
| Frame Material | Moisture & Rot Resistance | Maintenance | Notes for This Climate |
|---|---|---|---|
| Vinyl | Good — won't rot, but seams and welds matter | Low | Solid value option; quality varies a lot between manufacturers |
| Fiberglass | Excellent — dimensionally stable, doesn't absorb moisture | Low | Handles temperature swings and long wet seasons well |
| Wood-clad | Good on the exterior, but the interior wood needs the cladding to stay intact | Moderate | Attractive interior look; we're careful about cladding seams in a wet climate |
| Aluminum | Doesn't rot, but conducts cold and can condensate | Low | Less common in residential new construction here due to thermal performance |
Whatever material you land on, the frame is only half the equation. A premium window installed with a poor flashing detail will leak, and a modest window installed correctly will outperform it. We'd rather spend the conversation on install quality than talk anyone into a more expensive frame than their project needs.
Where We See New-Construction Windows Fail
Most of the window problems we find in newer homes trace back to a handful of repeatable mistakes, usually made under schedule pressure during the framing-to-dry-in phase of a build. Here's what we specifically check for on every opening:
- Sill pan flashing missing or not sloped to drain outward
- No end dams or corner flashing at the sill, leaving the stud bay exposed to any water that gets past the window
- Flashing installed in the wrong order — head flashing tucked under the WRB instead of over it
- Fasteners skipped along the nailing flange to save time
- Reliance on a full bead of exterior sealant instead of a proper drainage path
- Low-expansion foam overfilled around the frame, which can bow the jambs and bind the sash
- Interior air sealing and exterior water sealing treated as the same step when they need to be separate details
None of these are hard to get right. They just require a crew that treats window flashing as a sequence to follow every time, not a step to rush through on the way to hanging siding.
How We Coordinate Windows and Siding on New Builds
A lot of window leaks in newer homes don't come from the window itself — they come from a handoff problem between the window installer and the siding crew, where each assumes the other handled the transition detail at the flange. When we're on a new-construction job in the Lynden area, we're often doing both the window flashing and the siding, which removes that gap entirely. The same crew that laps the WRB over the window flange is the one installing the drainage plane and siding over it, so there's no ambiguity about who's responsible for a given layer.
On builds where another contractor has already set the windows, we still walk every opening before siding goes on. If the flashing sequence isn't right, it's far cheaper to fix at that stage than after the siding, trim, and interior finishes are in. We'd rather flag it before it's covered up than have it show up as a stain on someone's interior wall two winters later.
Cost Factors on a New-Construction Window Package
Every new-construction window job is priced around the same handful of variables, and understanding them helps make sense of a quote. We don't work from a flat per-window rate because the details that actually drive cost — flashing complexity, opening size, and finish level — vary house to house.
| Factor | Why It Affects Cost |
|---|---|
| Number and size of openings | More glass and larger units mean more material and labor per opening |
| Frame material | Vinyl, fiberglass, and wood-clad carry different material costs |
| Opening complexity | Bay windows, oversized units, and multi-unit combinations take more time to flash correctly |
| Flashing and WRB detail | Doing the sill pan, jamb, and head flashing correctly is labor, not a shortcut |
| Glass and performance package | Upgraded glazing or grids add cost per unit |
| Access and story height | Second-story and hard-to-reach openings take more setup time |
We'd rather walk a set of plans and give a real number than throw out a broad estimate that doesn't hold up once we see the opening count and layout. That's true on any home, but especially on a full new build where the window package is usually one line item in a bigger budget.
Living With the Windows: Moss Season and Long-Term Care
A correctly installed new-construction window doesn't need much attention, but Whatcom County's damp stretches do put a few things on a homeowner's radar. Moss and algae tend to establish on north- and west-facing sills and trim where sun exposure is limited and moisture lingers — it's cosmetic more than structural, but it's worth clearing off periodically so it doesn't hold moisture against the sill finish long-term. Weep holes on the sill track (if the window has them) should stay clear of debris so water draining out of the frame actually has somewhere to go. And it's worth doing a quick visual check of exterior sealant joints every year or two, not because the drainage plane depends on them, but because sealant is the first line of defense and it's easy to spot-touch before it becomes a problem.
Why a Crew That Works Lynden Regularly Makes a Difference
We're based out of Ferndale, and Lynden is part of our regular service area, not a one-off trip. That matters on a new-construction job for practical reasons: we know how Whatcom County's building department wants flashing and moisture barrier details documented, we've built working relationships with area builders and framers, and we've seen how the local wind and rain pattern actually behaves against a wall over a full wet season — not just in theory. That familiarity shows up in small decisions on site: where we add extra attention to a west-facing opening, how we sequence work around weather windows during the wet months, and what we flag for a builder before drywall goes up and an opening gets covered for good.
If you're planning new-construction windows for a home in the Lynden area, we're happy to walk the plans, talk through frame options, and put together a straightforward estimate — no pressure, no upsell, just a clear look at what the job actually involves. Reach out through the form below and we'll get back to you.