 Ferndale Siding
 New-Construction Windows for the Nooksack Area
When you're building new in the Nooksack area, the windows go in before the siding does — which means the window installation is really a waterproofing job as much as it is a window job. Get the flashing sequence and weather-resistant barrier integration right at this stage, and the house stays dry for decades. Get it wrong, and you're chasing a leak behind finished siding five or ten years down the road. We install new-construction windows for builders and homeowners working in and around Ferndale, and Nooksack's mix of open farmland exposure and Whatcom County's wet, wind-driven weather is exactly the kind of site where doing this step correctly actually matters.
This page is specifically about new-construction window installation — windows going into framed openings on a house that's currently being built — not replacement windows going into an existing wall. The two jobs use different products and completely different installation methods, and mixing up the approach is one of the most common (and expensive) mistakes on a new build.
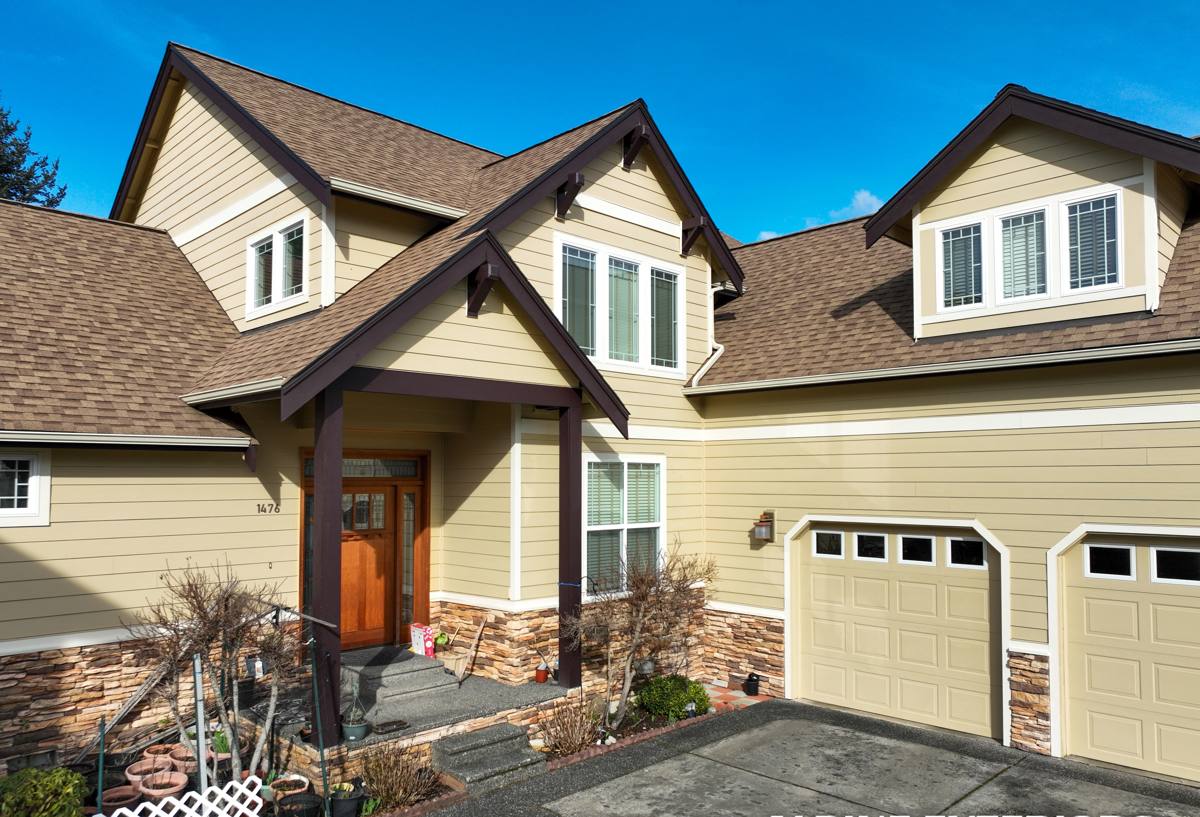
What Nooksack's Climate Asks of a New Window Installation
Whatcom County sits close enough to salt water and open exposure that new construction here has to plan for a few specific stresses from day one:
Driving rain
Wind-driven rain doesn't just hit a window head-on — it gets pushed sideways and upward under the wrong conditions, which is why the flashing details at the sill and jambs matter more here than in drier climates. A window that's simply caulked around the outside will eventually take on water during a hard blow.
Salt air
Proximity to Bellingham Bay and the Sound means airborne salt is part of daily exposure for many homes in this area. Salt accelerates corrosion on window hardware, screws, and lower-grade fasteners, so the metal components used during install — and the window's own hardware — need to be rated for it, not just standard-grade.
A long moss and moisture season
Whatcom County's extended damp season keeps exterior surfaces wet longer than in most of the state. Moss and algae growth on north-facing and shaded elevations is common, and any spot where water is slow to shed — a poorly sloped sill, a flashing lap installed backwards — becomes a place where moisture sits against the building instead of running off it.
None of this means Nooksack needs exotic products. It means the installation details — sill pans, flashing laps, sealant placement — have to be done correctly and in the right order, every time, with no shortcuts.
New Construction vs. Replacement: Why the Method Is Different
New-construction windows typically use a nailing flange (fin) that gets integrated directly into the wall's weather-resistant barrier before siding goes on. Replacement windows, by contrast, are usually installed into the existing frame of a home that already has finished siding. Building a new home in Nooksack gives you the advantage of doing this the right way from the start — but only if the crew treats it that way.
| Factor | New-Construction (Nail-Fin) Install | Replacement/Retrofit Install |
|---|---|---|
| When it happens | During framing, before siding/WRB is closed in | After the home is finished, siding stays in place |
| Waterproofing method | Sill pan flashing, WRB integration, shingle-lap flashing tape | Sealant and existing frame condition, limited flashing access |
| Coordination needed | Timed with framer, WRB installer, and siding crew | Standalone job, minimal coordination |
| Long-term risk if done wrong | Hidden leaks behind finished walls | Usually shows up faster, easier to catch early |
Because the new-construction method buries the flashing behind the wall assembly, mistakes here are the hardest kind to catch after the fact. That's the reason we treat the sequencing on these jobs as non-negotiable.
What a Correct Installation Actually Involves
There's a specific order of operations that keeps water moving out and away from the wall instead of into it. On every new-construction window we install, that includes:
- A sloped sill pan flashing at the rough opening, so any water that gets past the window has somewhere to drain — not a flat surface for it to pool on
- Flashing tape applied in the correct shingle-lap order (bottom, sides, then top) so each layer sheds water onto the one below it, never the reverse
- Proper integration with the weather-resistant barrier — flashing tucked under the WRB above the window and lapped over it at the sides and bottom
- Backer rod and quality exterior sealant at the right joints, not sealant used as a substitute for flashing
- Shimming and squaring the window in the rough opening before fastening, so it operates correctly and doesn't rack over time
- Fasteners and any exposed hardware rated for coastal/salt-air exposure
- A final check for level, plumb, square, and even reveal before the siding crew closes the wall around it
Every one of those steps has to happen in sequence and get verified before the wall is closed up — there's no going back to fix a flashing lap once the siding is on.
Frame Materials: What Fits a Nooksack Build
Frame material choice affects both up-front cost and how the window holds up to years of damp, salt-touched air. There's no single "best" answer — it depends on budget, the home's style, and how much upkeep you want to take on.
| Frame Material | Typical Cost Range | Considerations for This Climate |
|---|---|---|
| Vinyl | Lower | Low maintenance, good moisture resistance, wide color range now available |
| Fiberglass | Mid to upper | Very stable dimensionally, holds paint well, strong resistance to moisture and corrosion |
| Wood or Wood-Clad | Highest | Best classic appearance, but needs consistent upkeep in a wet climate; cladding helps protect the exterior face |
For most new builds in the Nooksack area, we see fiberglass and quality vinyl doing the best long-term job of standing up to driving rain and salt air with the least maintenance. Wood-clad is a fine choice for homeowners who want that look and are prepared to keep up with exterior maintenance on the parts of the frame that aren't clad.
How We Work on New-Construction Jobs
Coordinating with your builder or GC
New-construction window installation isn't a job that happens in isolation — it has to slot into the framing and siding schedule at the right moment. We work directly with builders and general contractors on Nooksack-area projects to make sure the window install happens after the WRB is up and before siding starts, which is the window of time when the flashing details actually matter most.
What we check before we start
Before a single window goes in, we confirm rough openings are square and correctly sized, the WRB is properly lapped and free of gaps, and the sill flashing plan matches the wall assembly being used. Catching a framing issue before the window goes in is far cheaper than discovering it after.
What you get at the end
A walkthrough of every opening, confirmation that each window operates correctly, and a clear picture of what was installed and how, so it's documented for the life of the home.
Why a Crew That Already Works Nooksack Matters
Window installation standards don't change by neighborhood, but familiarity with local conditions does make a difference. A crew that regularly works new construction around Ferndale and greater Whatcom County already knows what driving rain off open exposure does to a poorly flashed opening, and builds habits around that instead of learning it the hard way on your project. We've set up our sequencing, our material choices, and our checks specifically around what holds up here — not a generic install process pulled from a drier climate.
Working with a crew that's local also means faster response if a builder's schedule shifts, and a contractor who's still around and reachable years later if a question comes up about how something was installed.
Maintenance After Move-In
New-construction windows installed correctly need very little upkeep, but a few habits go a long way in this climate:
- Rinse accumulated salt residue and grime off frames and glass periodically, especially on sides facing open exposure
- Keep weep holes at the sill clear of debris so water can drain as designed
- Check exterior sealant joints yearly for cracking or separation, particularly after the first full winter as the house settles
- Keep gutters and downspouts working properly — water dumping near a window opening undoes good flashing work over time
If you're building new in the Nooksack area and want windows installed the right way the first time, we're happy to come out, look at your plans or framing, and put together a straightforward, no-pressure estimate. There's a form below to get that started.