 Ferndale Siding
 Building New on the Bay: What the Site Already Knows About Windows
If you're framing a new home or a major addition in Birch Bay, the site has already told you something about what your windows need to survive. Salt-laden air off the water, wind-driven rain that doesn't fall so much as get pushed sideways into a wall, and a moss season that stretches most of the year all put steady pressure on every penetration in the building envelope. Windows are the largest, most complicated penetrations in that envelope. Get the install right during new construction and you get decades of quiet performance. Get it wrong and you're chasing stains, soft framing, or fogged glass within a few winters — problems that are far more expensive to fix once siding and trim are closed up around them.
New-construction window work is different from a replacement job, and Birch Bay's exposure makes the difference matter more than it would a few miles inland in Ferndale proper. This page covers what a correct new-construction window install actually involves here, what to ask a contractor before they touch your rough openings, and where the real cost and performance trade-offs are.
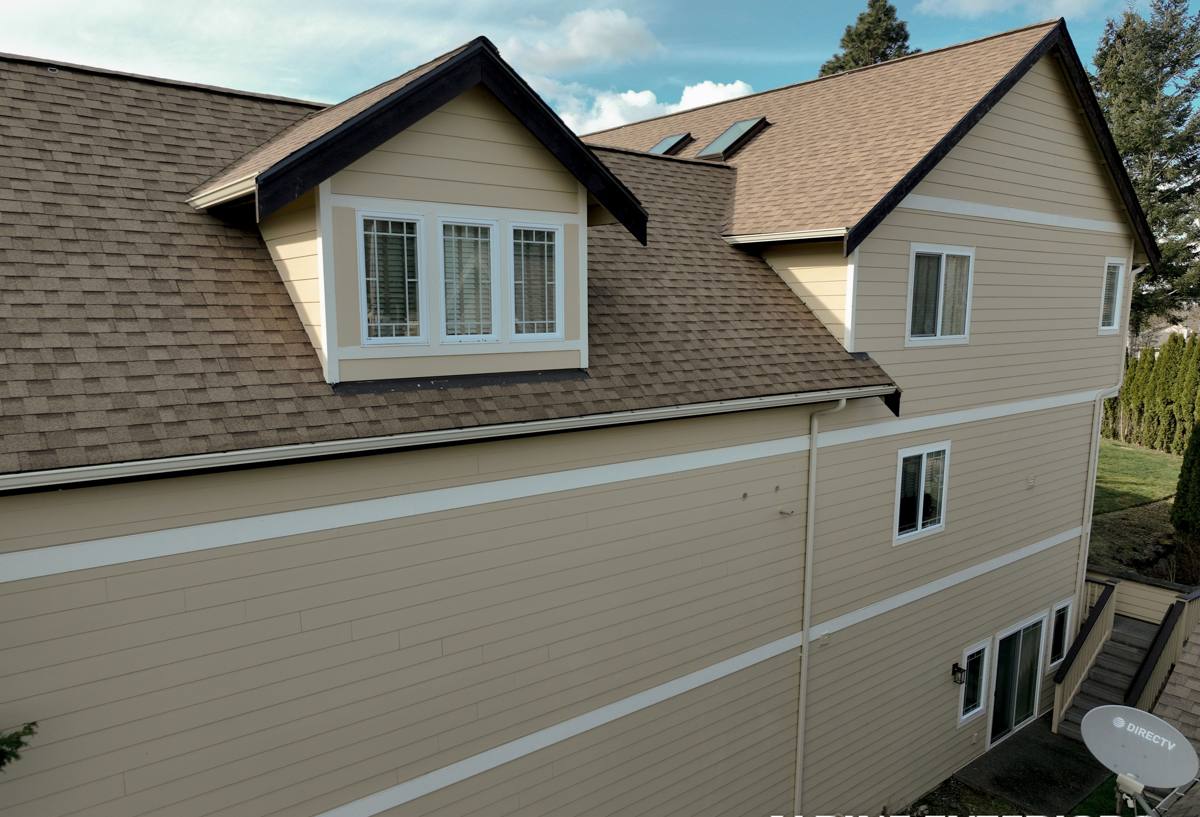
New-Construction Windows vs. Replacement: Why It's a Different Job
New-construction windows have a nailing flange (fin) around the perimeter that gets integrated directly into the wall's water-resistive barrier (WRB) and flashing system before siding goes on. Replacement windows, by contrast, are typically flush-fin or pocket units installed into an existing opening after the original frame and trim are already in place, with the water management already established (for better or worse).
Because a new-construction window is installed before the wall is finished, you get one real advantage: full access to build a correct, layered water management system from the sheathing out. There's no fighting existing trim, no working around old flashing that may or may not be sound. The trade-off is that there's no room for shortcuts — every step has to happen in the right order, because once the siding goes up, the flashing behind it is out of sight.
Where This Matters Most in a Coastal Build
On a Birch Bay lot exposed to onshore wind, water isn't just falling on the window — it's being driven into every gap under pressure. A flashing detail that would be marginal but tolerable in a sheltered inland yard can become an active leak path here within a few storm seasons. That's the whole reason new-construction installs deserve extra attention on this stretch of coast: the building science has almost no margin for error.
Getting the Water Management Sequence Right
A correct new-construction window install follows a specific shingle-lap sequence, so that water draining down the wall always moves over the top of the next layer down, never behind it. On a Birch Bay build, we treat every one of these steps as non-negotiable:
- Sill pan flashing: A sloped, sealed pan under the rough opening so any water that gets past the window has a way out, not a place to pool.
- WRB integration: The housewrap or building paper is cut, lapped, and taped so it ties into the sill pan and side flashing in the correct shingle order — not just stapled around the opening.
- Flange sealing: Sides and top of the nailing flange sealed with a compatible flashing tape or sealant rated for the window and wall assembly being used.
- Head flashing: A drip cap or flashing above the window that directs water out and away from the top of the frame, backed by WRB lapped over it.
- Interior air sealing: A continuous bead of low-expansion foam or sealant around the interior gap between frame and framing, so warm interior air isn't finding its way into the wall cavity and condensing.
Skip or reorder any one of these and you've built a leak path that won't show itself until it's already done damage behind the siding — usually the sheathing, sometimes the framing itself.
Choosing Window Materials for Salt Air and Constant Moisture
Material choice matters more on a coastal lot than it does a few miles inland. Salt air accelerates corrosion on hardware and fasteners, and constant moisture cycling stresses seals and finishes faster than a drier climate would. There's no single right answer for every home, but here's how the common options stack up for a Birch Bay build:
| Material | Coastal Durability | Maintenance | Typical Trade-Off |
|---|---|---|---|
| Vinyl | Good — won't corrode or rot, but can discolor or become brittle under long UV and salt exposure over many years | Low | Budget-friendly; frame can't be refinished if it fades or chalks |
| Fiberglass | Very good — dimensionally stable, resists corrosion and UV degradation well | Low | Higher upfront cost than vinyl |
| Aluminum-clad wood | Good exterior protection, but interior wood is only as durable as the seal protecting it | Moderate — sealant and clad joints need periodic inspection | Best interior appearance, more sensitive to installation quality |
| Bare wood | Poor in this exposure without diligent upkeep | High | We generally steer new-construction coastal clients away from this unless upkeep is planned for |
Hardware matters as much as frame material. On Birch Bay builds we specify corrosion-resistant fasteners and hinges/latches rated for coastal or marine exposure — standard interior-grade hardware will pit and seize faster than most homeowners expect this close to the water.
Our Process on a Birch Bay New-Construction Job
- Rough opening check: We verify every opening is square, plumb, and sized correctly before a single window arrives on site — catching framing errors now is far cheaper than after windows are ordered.
- Sill pan installation: Sloped and sealed at every opening, sized to the specific window unit.
- WRB and flashing tie-in: Integrated in the correct shingle-lap order with materials compatible with both the wrap and the window manufacturer's specifications.
- Window set and shim: Set to level, plumb, and square, shimmed at load points per the manufacturer's install instructions — not just fastened through the flange and called done.
- Flange fastening and sealing: Fastened per spec, then sealed and taped following the sequence above.
- Interior air seal and exterior trim prep: Interior gap sealed; exterior ready for the siding and trim package to close over a finished, tested water management layer.
- Walk-through with the builder or homeowner: Operation checked, hardware checked, and flashing photographed before it disappears behind siding — so there's a record of what's back there.
Coordinating with Your Builder or GC
New-construction window installs almost never happen in isolation — they sit in the middle of a framing-to-siding sequence with a general contractor or builder managing the overall schedule. Timing matters: windows need to go in after the WRB is up but before siding closes the wall, and the trades on either side of that window need to be lined up so there isn't a multi-week gap exposing open sheathing to Birch Bay weather. We work directly with builders and GCs on scheduling, use compatible flashing and sealant products across trades so nothing conflicts with what's already on the wall, and document our work so it's easy to sign off on before it's covered.
Mistakes We See Most Often in New-Construction Window Installs
Most window leaks in new construction don't come from a bad window — they come from an installation shortcut that seemed fine on a dry day. Things worth having your contractor confirm before the wall closes up:
- Sill pan skipped or improperly sloped, leaving nowhere for incidental water to drain
- WRB stapled around the opening instead of properly lapped into the flashing sequence
- Flange sealed with a tape or sealant not compatible with the WRB or window manufacturer's requirements
- Window not shimmed at proper load points, leading to frame racking and hardware wear over time
- Interior air gap left unsealed, allowing condensation to form inside the wall cavity
- Fasteners or hardware not rated for coastal exposure, corroding well ahead of the window's expected lifespan
- No photo documentation of flashing before siding covers it, leaving no record if a problem shows up later
What Drives Cost on a New-Construction Window Package
| Factor | Why It Matters |
|---|---|
| Window count and size | Larger openings and more units mean more material and labor hours |
| Frame material | Vinyl generally costs less upfront than fiberglass or clad-wood units |
| Glass package | Upgraded low-E coatings or gas fills add cost but improve comfort and efficiency |
| Opening complexity | Bays, corners, and oversized openings require more flashing detail and labor |
| Site access and staging | Some Birch Bay lots have limited access for material delivery and staging, affecting labor time |
| Coordination with other trades | Tightly scheduled builds with several trades on site can affect sequencing and pricing |
We'd rather walk your plans and give you real numbers than throw out a broad range that doesn't reflect your actual openings, materials, and site conditions.
Why a Local Crew Matters for This Job
A window installer who mostly works dry, inland sites in Whatcom County will still know the fundamentals — but a crew that regularly works Birch Bay and the surrounding coastline has already seen how salt air, wind-driven rain, and heavy moss growth actually play out on a wall over a few years, not just on install day. That shows up in the small decisions: which sealants and tapes hold up here, which hardware finishes are worth the upgrade, and how much slope and overhang detail a given elevation really needs given its wind exposure. It's the difference between an installation that meets code and one that's built for the specific conditions of this stretch of coast.
If you're planning a new build or addition in Birch Bay and want your window package done right from the framing stage forward, we're happy to walk the plans with you and talk through material and installation options. Reach out through the form below for a free, no-pressure estimate.