 Ferndale Siding
 Why Birch Bay's Waterfront Climate Is Hard on Siding
Birch Bay sits right on the water, and that changes what siding has to deal with compared to a home a few miles inland. Homes here face a steady mix of salt-laden air, wind-driven rain coming off the Strait of Georgia, and long stretches of shade and dampness that keep exterior walls wet far longer than homes in drier parts of Whatcom County. That combination is tough on almost every siding material, but it's especially tough on anything that relies on paint film or a protective coating to keep moisture out.
Salt air accelerates corrosion of fasteners and metal trim, and it breaks down cheap coatings faster than inland weathering does. Wind-driven rain doesn't just wet the face of the siding — it gets pushed sideways and upward into laps, seams, and butt joints that would stay dry in a calmer climate. And Birch Bay's tree cover and marine humidity add up to a long moss and algae season, especially on north- and west-facing walls that don't get much sun to dry out between storms. Siding that isn't installed with all three of these factors in mind will show problems years before it should — streaking, soft spots, lifted caulk, and paint that fails from the back side out.
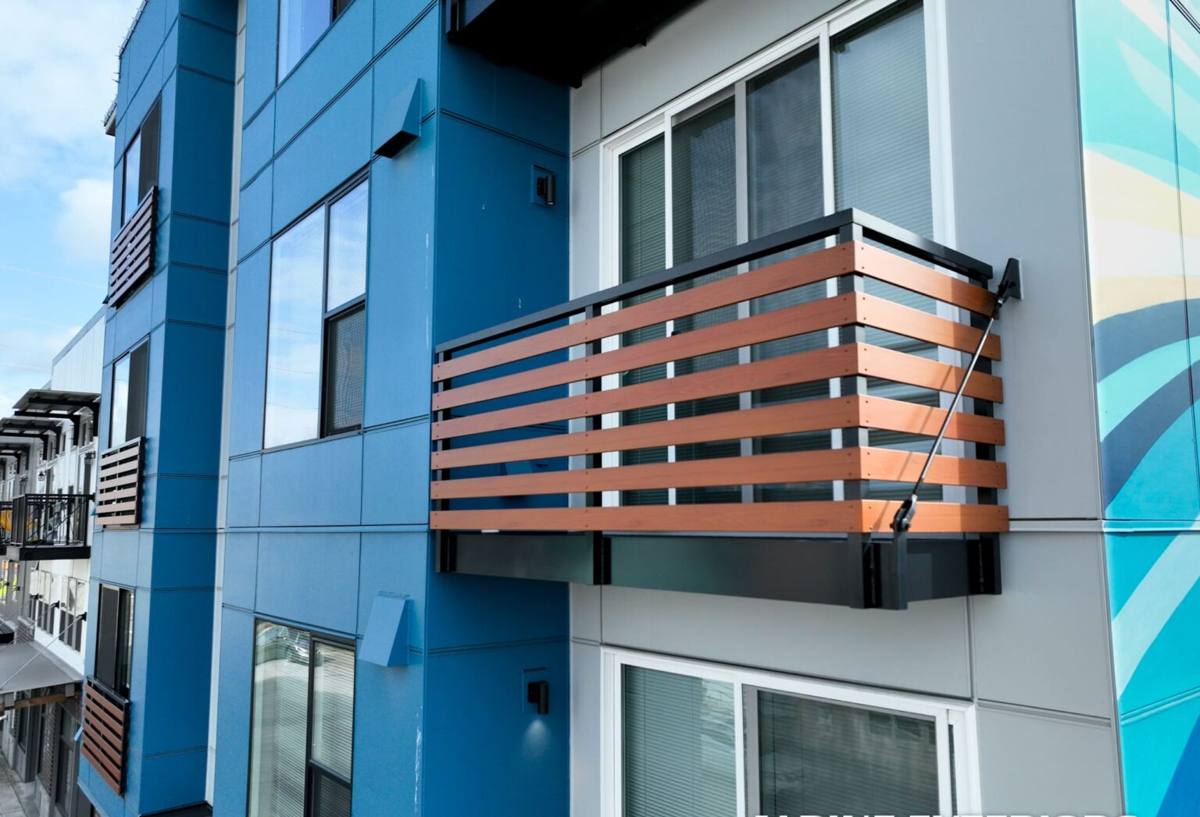
What Correct Siding Installation Looks Like on a Birch Bay Home
Good siding installation here isn't just about the panel you see. Most of the failures we get called out to inspect trace back to what's missing behind the siding, not the siding itself.
Moisture Management Starts Behind the Siding
A water-resistive barrier installed correctly, with proper shingle-lap sequencing so water always drains down and out, is the foundation. On a site this exposed to blowing rain, we pay close attention to window and door flashing, kick-out flashing at roof-to-wall intersections, and the drainage gap behind the siding that lets any moisture that does get past the first line of defense actually dry out instead of sitting against the wall.
Fastening and Joint Detail for Wind Exposure
Homes closer to the open water take more direct wind load, which means fastener spacing and type matter more than they would on a sheltered inland lot. Butt joints need to be caulked or flashed correctly and shouldn't line up in a way that funnels water into the wall assembly. Corner and trim details need to shed water outward, not trap it against end grain or seams.
Starter Strips, Clearances, and Grade
Siding installed too close to grade, decks, or roof lines gives moisture and moss a head start. We keep proper clearance at the bottom edge and anywhere siding meets a horizontal surface, since those are the spots that stay damp longest on a shaded, coastal lot.
Why We Install Only James Hardie Fiber Cement in Birch Bay
We don't install vinyl, LP SmartSide, primed spruce, cedar, or other fiber cement brands. That's a deliberate standard, not a lack of options. In an environment like Birch Bay's — salt air, constant dampness, heavy shade in places — the material itself needs to tolerate moisture cycling without losing its shape, its paint, or its structural integrity. James Hardie fiber cement is what we've found holds up to that combination without asking the homeowner to fight it every few years.
- Non-combustible material that doesn't rely on a plastic or wood substrate that can soften, swell, or rot when it stays wet.
- ColorPlus factory finish is baked on under controlled conditions, so it resists the fading, chalking, and peeling that salt air and UV exposure cause on field-applied paint.
- HZ5 climate-engineered product line, built specifically for wetter, harsher climate zones like the Pacific Northwest coast, versus a general-purpose formulation.
- Dimensionally stable under moisture cycling, so laps, joints, and fastener holes stay tight instead of working loose as the material swells and shrinks.
- Strong transferable warranty backed by a large manufacturer, which matters more on a coastal property that will see decades of harder-than-average weathering.
We're upfront that other products have real advantages in other situations — vinyl is inexpensive and low-maintenance in mild climates, cedar has a look some homeowners love, LP SmartSide is engineered wood with its own fans. But none of them are what we're willing to put our name behind on a site that gets this much salt air and driving rain, and we'd rather tell a homeowner that directly than install something we don't stand behind.
How Siding Materials Compare in a Coastal, Moisture-Heavy Setting
| Factor | Vinyl | Wood / LP SmartSide | James Hardie Fiber Cement |
|---|---|---|---|
| Salt air / coastal exposure | Can become brittle and discolored over time | Coatings and end grain vulnerable to salt-driven wear | Engineered HZ5 line built for coastal climate zones |
| Wind-driven rain resistance | Depends heavily on installation, panels can flex and gap | Moisture intrusion risk at joints and fastener points | Dense fiber cement resists moisture intrusion when installed to spec |
| Moss / algae resistance | Surface can host growth, hard to clean without damage | Organic substrate can feed growth if moisture gets in | Inorganic material doesn't feed growth; surface cleans without damaging substrate |
| Finish durability | Color molded in, can fade unevenly | Field-applied paint needs repainting on a cycle | Factory-baked ColorPlus finish holds color longer |
| Fire resistance | Combustible | Combustible | Non-combustible |
| Typical lifespan when installed correctly | 20-30 years | 15-25 years, coating-dependent | 30-50+ years |
Our Process for a Birch Bay Siding Installation
Every home is different, but the process we follow on Birch Bay projects generally covers the same ground:
- On-site assessment. We look at wall orientation relative to prevailing wind and water, existing moisture damage, shade patterns, and current flashing conditions before quoting anything.
- Tear-off and sheathing inspection. Removing the old siding lets us check the sheathing underneath for rot or water damage that needs to be addressed before new siding goes up — this step is where hidden problems usually surface.
- Water-resistive barrier and flashing. We install or replace the weather barrier and all flashing details — window, door, roof-to-wall, and any penetrations — before a single piece of siding goes on.
- Drainage gap and starter installation. We set proper starter strips and clearances so the assembly can drain and dry correctly from day one.
- Hardie panel or plank installation. Fastening, lap, and joint work is done to manufacturer spec, adjusted for the wind and rain exposure of the specific wall.
- Trim, caulking, and finish detail. Corners, trim boards, and joints get sealed and finished so water sheds away from the wall assembly at every transition.
- Final walkthrough. We go over the finished work with the homeowner and flag anything worth watching, like a shaded wall that may need more frequent washing.
Maintenance to Expect in a Moss-Prone, Salt-Air Environment
Correctly installed Hardie siding is low-maintenance, not zero-maintenance. In a spot like Birch Bay, a little seasonal attention goes a long way toward keeping siding looking and performing the way it should for decades.
- Rinse salt residue and grime off exterior walls periodically, especially on sides facing the water.
- Soft-wash shaded, north- or west-facing walls where moss and algae tend to establish first.
- Keep gutters clear so overflow doesn't run down the siding face and feed moss growth at the top of walls.
- Trim back vegetation and tree cover that keeps walls shaded and damp longer than necessary.
- Inspect caulking at trim, corners, and penetrations every year or two and touch up as needed.
- Walk the exterior after major windstorms to check for loose trim, damaged flashing, or debris impact.
Why Hiring a Crew That Already Works Birch Bay Matters
Siding installation isn't identical from one Whatcom County neighborhood to the next, and a crew that mostly works drier, more sheltered sites can miss details that matter on the water. A crew already familiar with Birch Bay's wind exposure, salt air, and shaded moss-prone lots knows to spend extra attention on flashing and drainage details, knows which wall orientations tend to have the worst moisture history, and isn't guessing at fastening and joint decisions based on general specs alone. That local experience shows up years later in whether the siding is still performing the way it should — not just in how it looks on installation day.
Cost Factors for Siding Installation in Birch Bay
Every home is different, so we don't quote a number without seeing the site, but a few factors consistently move the price on Birch Bay projects:
| Factor | How it affects cost |
|---|---|
| Tear-off and sheathing condition | Hidden moisture damage found during tear-off can add repair scope before new siding goes up |
| Home size and wall complexity | More corners, dormers, and transitions mean more trim, flashing, and labor time |
| Wall exposure to wind and water | Water-facing walls often need more thorough flashing and drainage detail |
| Siding profile and finish choice | Panel vs. lap siding and trim style affect material and labor cost |
| Access and site conditions | Tight lots, slopes, or limited staging area can add labor time |
If you're weighing a siding replacement on a Birch Bay home, we're happy to come take a look, walk the exterior with you, and give you a straightforward, no-pressure estimate — including an honest read on what your walls actually need given how exposed they are to the water and weather.