 Ferndale Siding
 Lummi Island Sits in a Tougher Weather Zone Than Most of Whatcom County
Lummi Island gets more direct exposure to salt air and wind-driven rain than homes tucked further inland around Ferndale. Sitting out in the Salish Sea, the island's homes take weather straight off the water — salt-laden wind, near-constant humidity, and long stretches of the year where shaded walls barely dry out between rain events. Add a moss season that can run from fall through spring, and you have a set of conditions that will find every weak point in a siding job faster than a typical inland install.
This page is about one thing: what a correct siding installation looks like on a Lummi Island home, and why the climate here changes some of the decisions we make compared to a job in town.
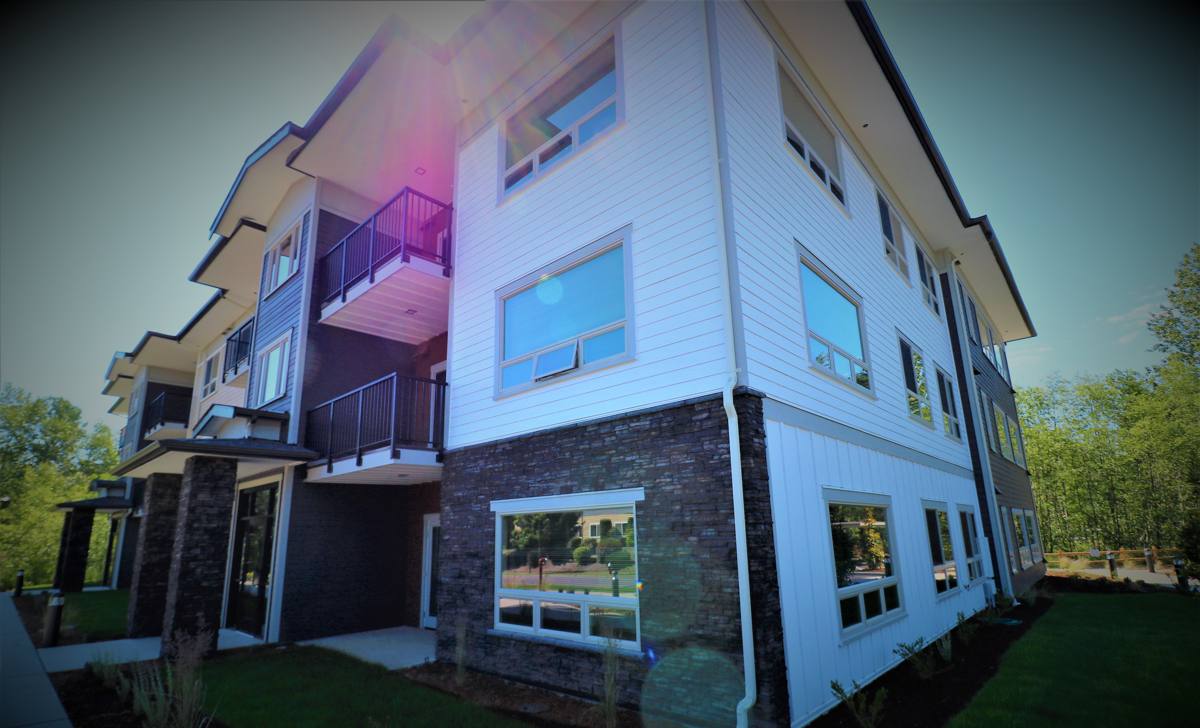
What Salt Air, Driving Rain, and Moss Actually Do to Siding
Salt Air and Wind-Driven Moisture
Airborne salt is corrosive to fasteners and trim hardware, and it accelerates the breakdown of finishes that aren't built to take it. Wind-driven rain off the water doesn't fall straight down — it drives sideways into wall assemblies, which means laps, seams, and penetrations around windows and doors take more direct water pressure than they would on a sheltered inland wall. A siding system that's marginal on flashing or fastening will show it here years before it would somewhere calmer.
Moss, Shade, and Slow-Drying Walls
Much of the island has mature tree cover, and shaded, north-facing walls can stay damp for days after a storm passes. That's exactly the environment moss and algae need to take hold. Moss growth isn't just cosmetic — a mat of moss holds moisture against the siding surface long after the rest of the wall has dried, which is hard on any material that isn't dimensionally stable when wet.
The Cumulative Effect
None of this is a single dramatic event — it's slow, cumulative exposure. A siding product and installation detail that's "fine" for five years under these conditions often isn't fine at year fifteen. That's the timeframe that actually matters to a homeowner, and it's the one we plan around.
Why We Only Install James Hardie Fiber Cement on This Island
We install James Hardie fiber cement siding exclusively — we don't install vinyl, LP SmartSide, Cemplank, Allura, primed spruce, or cedar, and we're upfront about why. Each of those products has real strengths, but they each carry a trade-off — moisture sensitivity, appearance changes over time, maintenance burden, or a warranty structure that doesn't hold up as well — that we're not willing to install on a home exposed to salt air and driving rain for years at a stretch.
James Hardie fiber cement is non-combustible, dimensionally stable when wet, and doesn't feed moss or rot the way wood-based and some engineered wood products can. Hardie's ColorPlus factory finish is baked on under controlled conditions rather than field-applied, which matters directly here — a factory finish holds up better against salt exposure and UV than a coat of paint applied on site. Hardie also builds specific product lines engineered for different climate zones (their HZ5 and HZ10 systems), which lets us match the product to what this specific stretch of coastline actually does to a house, rather than installing a one-size-fits-all product and hoping it holds.
We're not saying every other product is a bad product everywhere — we're saying that after years of working this coastline, Hardie is the one we're willing to put our name behind on a Lummi Island home.
What a Correct Siding Installation Involves
The product is only part of the equation. Most siding failures we get called out to inspect aren't a material failure — they're an installation detail that was skipped or rushed. On a marine-exposure home, the margin for error is smaller.
| Detail | Correct Approach | What Goes Wrong When It's Skipped |
|---|---|---|
| Weather-resistive barrier | Continuous house wrap or building paper, properly lapped and sealed at every penetration | Wind-driven rain finds gaps and tracks behind the siding into the wall cavity |
| Flashing at windows and doors | Head, sill, and jamb flashing integrated with the water-resistive barrier in the correct shingle-lap order | Water collects at openings and works its way into framing over several seasons |
| Fastening | Corrosion-resistant fasteners driven to Hardie's specified pattern and depth | Salt air corrodes undersized or incorrect fasteners, loosening boards over time |
| Clearance and drainage | Proper gap at grade, decks, and roof lines so water and debris don't sit against the bottom edge | Trapped moisture and moss take hold at the most vulnerable edge of the wall |
| Caulking and joints | Sealed only where Hardie's install specs call for it, with a quality exterior sealant | Over-caulking traps moisture; under-caulking lets it in — both cause problems |
Every one of these details is spelled out in James Hardie's published installation instructions. Following them isn't optional on our jobs — it's the difference between siding that performs for decades and siding that looks fine at the walkthrough and starts failing in year six.
Our Process for a Lummi Island Siding Installation
- Site assessment. We look at sun exposure, shade patterns, prevailing wind and rain direction, and the current condition of the wall assembly — not just the siding itself.
- Moisture and substrate check. Before any new siding goes on, we check what's underneath. Trapping moisture behind new siding on top of an already-compromised wall is one of the most common causes of early failure.
- Product and line selection. We select the right Hardie product and profile for the specific exposure on that wall — a heavily shaded north wall and a wind-exposed water-facing wall don't always call for the same approach.
- Tear-off and prep. Old siding, damaged sheathing, and compromised trim are removed and replaced as needed before the weather barrier goes on.
- Weather barrier and flashing. This is the step that determines whether the wall stays dry for the next 30 years — it gets done to spec, every time.
- Installation. Siding, trim, and fasteners go in to Hardie's published specifications for this climate zone.
- Final walkthrough. We review the finished work with the homeowner and go over basic care before we leave the site.
Cost Factors for Siding Installation on Lummi Island
Every home is different, so we don't quote pricing sight unseen — but a few factors consistently move the number on island jobs more than they would on a typical inland project.
| Factor | Why It Affects Cost |
|---|---|
| Extent of substrate repair | Homes with long-term moisture exposure often need sheathing or framing repair before new siding goes on |
| Wall exposure and complexity | Water-facing walls, multiple stories, and cut-up rooflines take more flashing and labor detail |
| Product line and profile | Hardie's climate-engineered lines and specialty profiles (lap, shingle, panel) price differently |
| Site access and logistics | Island access adds real scheduling and material-transport logistics compared to an in-town job |
| Tear-off vs. new construction | Removing and disposing of old siding adds labor that new-build siding doesn't require |
The honest answer to "what will this cost" is: it depends on what we find once we're on the wall. We'll give you a real number after we've actually looked at the house, not a rough guess pulled from a national average.
Why Hiring a Crew That Already Works This Island Matters
Lummi Island is only reached by a short ferry crossing, which changes how a siding job gets planned and staged compared to a job in Ferndale proper. A crew that hasn't worked out here before will underestimate how much that logistics piece matters — getting a crew, equipment, and enough material staged for the day without a dozen back-and-forth trips takes real planning, and it affects both timeline and cost if it's handled poorly.
There's also the matter of knowing the exposure. A crew that's worked multiple homes on the island already knows which walls take the worst of the wind and salt, what the moss pattern looks like through a wet winter, and how the local permitting process through Whatcom County works for exterior work on the island. That's not something you get from a general contractor's brochure — it comes from having actually done the work here before.
Keeping New Siding Looking Right After Installation
A correct installation does most of the work, but a little homeowner attention keeps it looking good longer — especially in a moss-prone, salt-air environment.
- Rinse the siding periodically to clear salt residue and airborne grime, especially on water-facing walls
- Keep gutters clear so overflow doesn't run down the siding face
- Trim back vegetation and tree limbs that shade walls and slow drying time
- Address any moss or algae growth early with a gentle, non-pressure-washer approach
- Keep an eye on caulking at trim joints and re-seal if it starts to crack or pull away
- Have any impact damage or loose boards looked at promptly rather than waiting for the next project
None of this is heavy maintenance — it's the kind of upkeep that protects the installation you already paid for.
Ready to Talk About Your Lummi Island Home
If your siding is showing moss staining, soft spots, or visible wear from years of salt air and driving rain, we're happy to take a look and give you a straight, no-pressure assessment. Fill out the form below for a free estimate — we'll tell you honestly what your home needs, not just what's easiest to sell.